What to Expect: The Custom Closet Design Process from Start to Finish
Never worked with a custom closet company before? Here is exactly what the design process looks like, from your first consultation to installation day, so there are no surprises.
Published on May 15, 2026

You know you want a custom closet. You have looked at the photos, read about the cost, and decided it is time. But you have never worked with a closet company before, and you are not sure what the process actually involves. How long does it take? What decisions do you need to make? Will it disrupt your daily life?
At Dream Closets, we have walked hundreds of Bradenton, Lakewood Ranch, and Sarasota homeowners through this exact process. This guide explains every step from first phone call to installation day so you know what to expect before you even pick up the phone.
Step 1: Schedule Your Free In-Home Consultation
Everything starts with a phone call or an online form. You tell us which spaces you want to organize (master closet, guest room, pantry, garage, home office) and we schedule a time for a designer to visit your home.
What to know:
- The consultation is free. There is no charge and no obligation.
- It takes about 45 to 60 minutes, depending on how many spaces you want to discuss.
- Both partners should be there if the closet is shared. This is a design that both people will use every day, and the layout decisions work best when both voices are in the room.
- You do not need to clean out the closet first. Our designers have seen it all. A cluttered closet actually helps because it shows us what you are working with and where the current system is failing.
Why in-home matters. Some closet companies design from photos or floor plans submitted online. That approach misses details that affect the final product: ceiling height, door swing clearance, light switch placement, baseboard thickness, and the actual condition of the walls. An in-home consultation catches all of that.
Step 2: Measure and Discuss
During the consultation, the designer does two things simultaneously. First, they take precise measurements of the space. Every wall, every corner, every obstacle is documented. This is not a rough sketch. It is a detailed dimensional survey that becomes the foundation for your design.
Second, and this is the part most people do not expect, the designer asks a lot of questions about how you live.
- How do you get dressed in the morning? Do you pick out clothes the night before, or do you decide in the moment?
- Do you hang most of your wardrobe, or do you prefer to fold?
- How many pairs of shoes do you own? Are they displayed or stored?
- Do you have accessories that need dedicated storage (jewelry, watches, ties, belts, handbags)?
- Are there items you need daily access to versus seasonal items you rotate in and out?
- Do you share the closet with a partner? If so, how do you currently divide the space?
These questions might seem overly detailed, but they drive every design decision. A closet for someone who hangs 80% of their clothes looks completely different from a closet for someone who folds 80%. A shared closet for two people with different routines needs a different layout than a single-user space.
Step 3: Review Your 3D Design
Within a few days of the consultation, your designer sends a 3D rendering of the proposed closet system. This is a photorealistic view of your specific closet, with your exact dimensions, showing every rod, shelf, drawer, and accessory in place.
This is the most important step in the process because it is where you make changes. Some common adjustments at this stage:
- "I need more drawer space and less hanging." Easy. The designer swaps a hanging section for a drawer bank.
- "Can we add a section for my husband's ties and watches?" Yes. Specialty inserts drop into existing drawer slots.
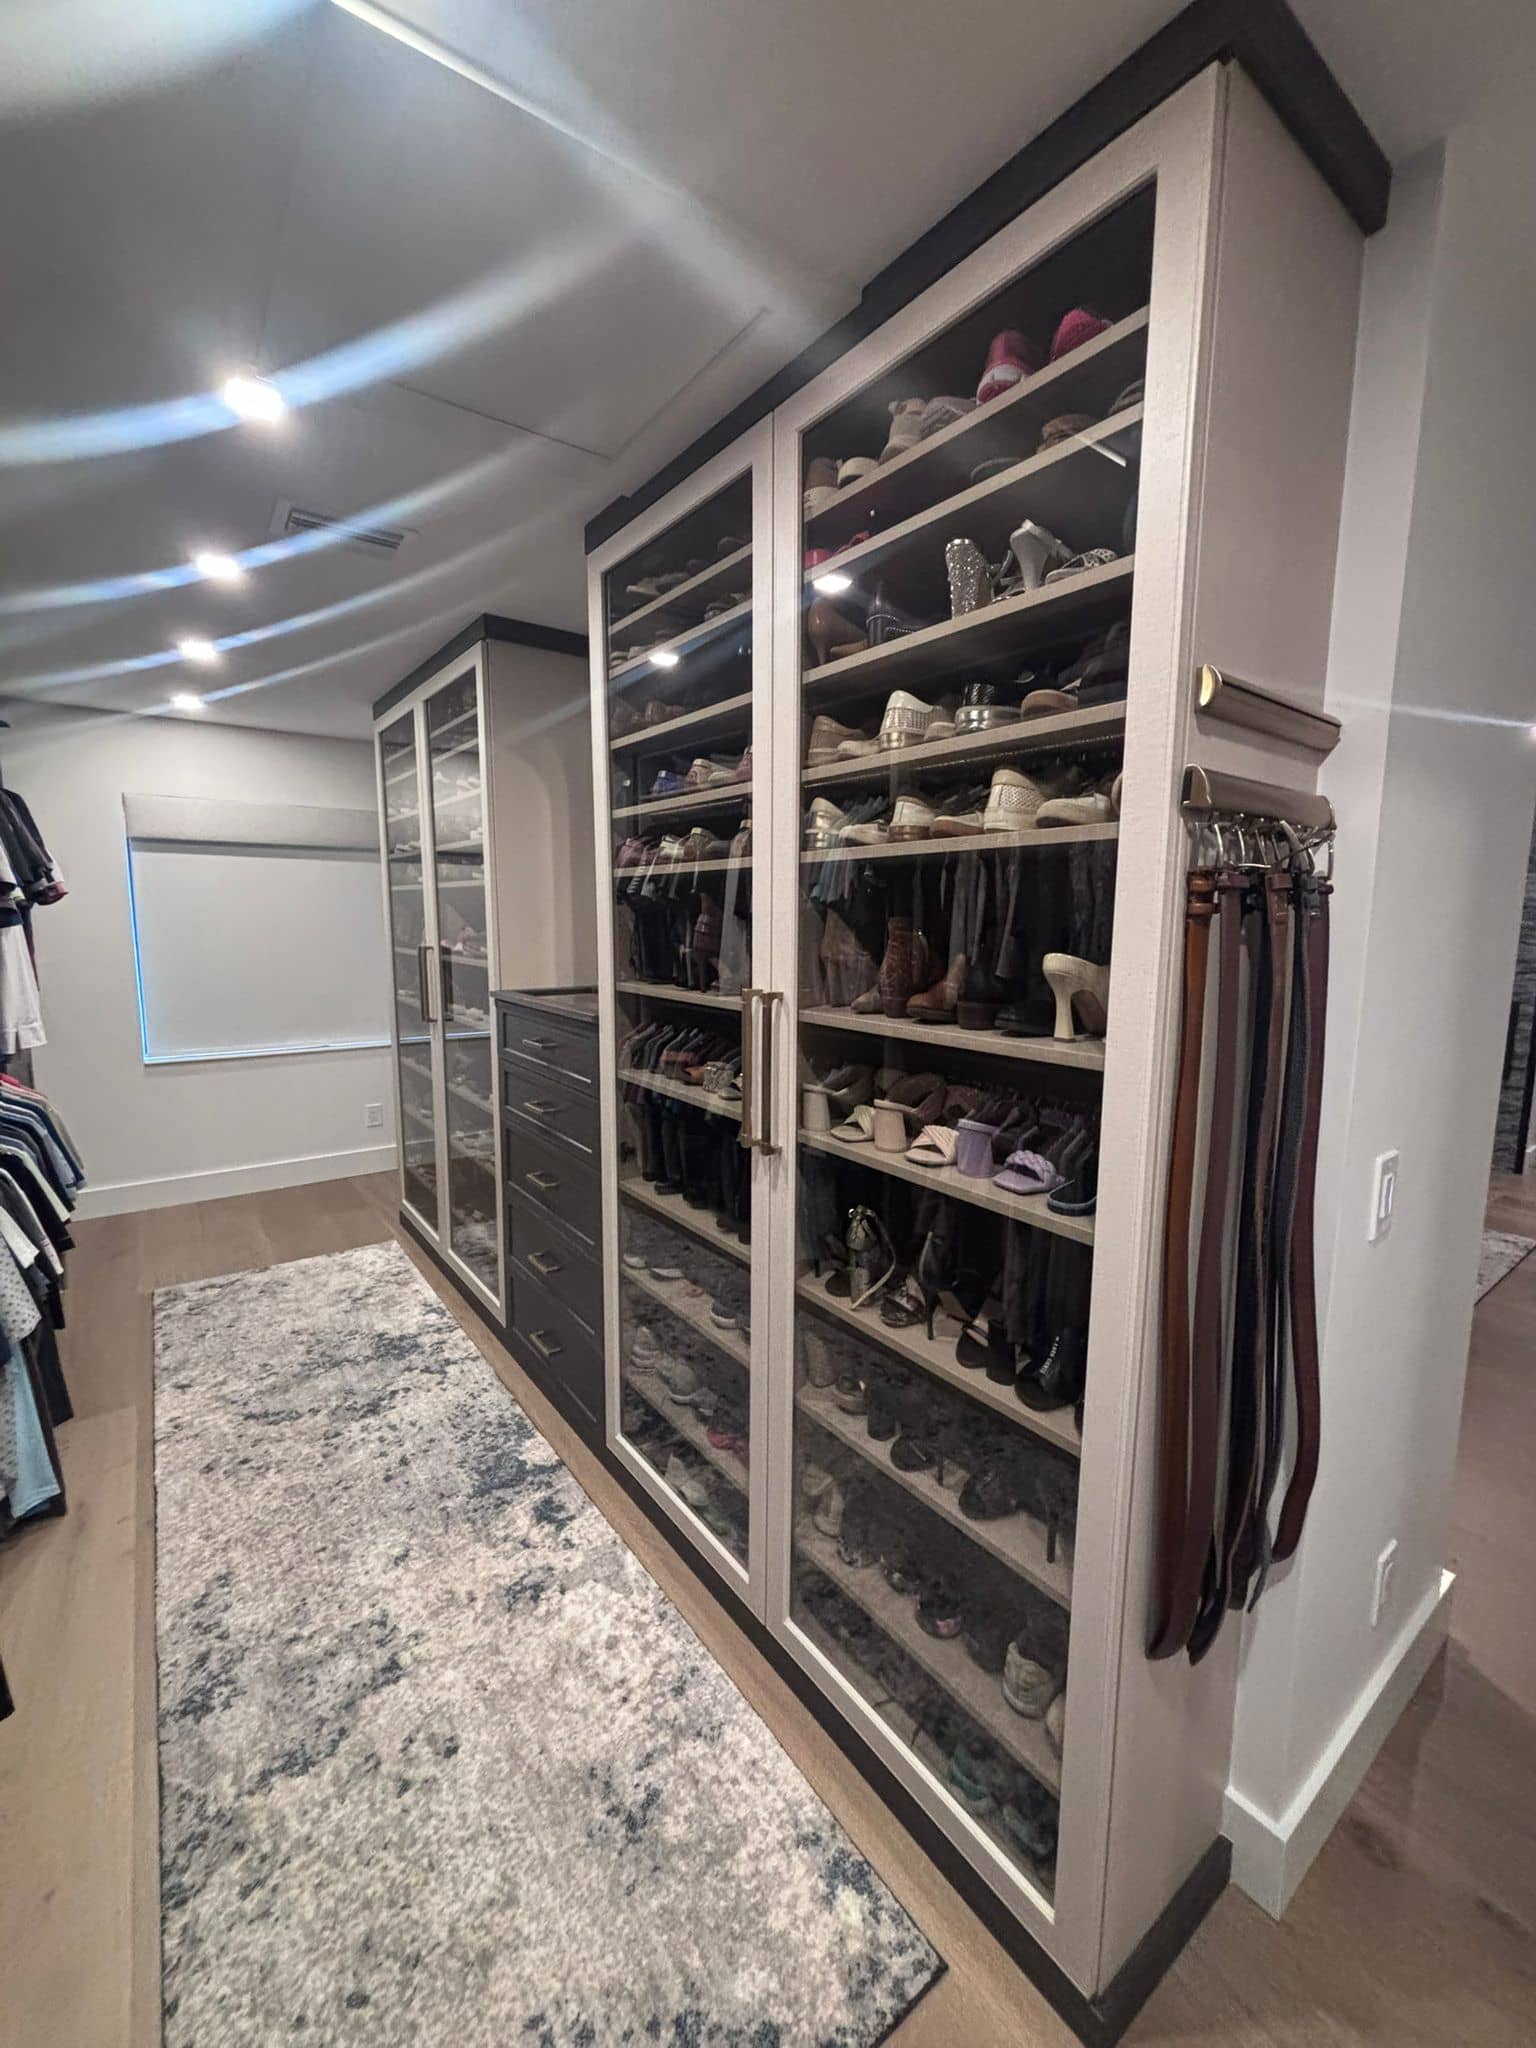
- "I want the shoe shelves angled instead of flat." Done. Angled shelves display shoes better and fit more pairs in the same space.
- "Can we see this in a darker finish?" The designer can re-render in any available laminate color or wood grain.
There is no limit on revisions at this stage. The goal is for both partners to look at the rendering and say, "That is exactly what I want." If you are not there yet, we keep adjusting.
For reference, here is what the best custom closets in Lakewood Ranch typically include at this design stage: double-hang sections, full-length hanging, drawer banks, adjustable shelving, and at least one specialty accessory zone.
Step 4: Approve and Schedule
Once you are happy with the design, you approve the final rendering and we schedule your installation date. At this point, you will receive a written quote that includes everything: materials, hardware, accessories, and installation labor. The price you see is the price you pay.
Timing. From approval to installation, the typical turnaround is two to four weeks. That includes manufacturing time, where every panel, shelf, and drawer component is cut, drilled, and labeled to match your specific design. Nothing is generic. Every piece is made for your closet.
Payment. A deposit is collected at approval, with the balance due at installation. We keep this straightforward because the last thing anyone wants during a home improvement project is confusing billing.
Step 5: Pre-Installation Preparation
A day or two before installation, empty the closet. This is the one step that requires effort on your end. Remove all clothing, shoes, accessories, and anything stored on existing shelves. If you have old wire shelving, leave it. Our installation crew will remove it as the first step.
Tips for prep day:
- Sort as you go. This is a great opportunity to donate items you no longer wear. You will be amazed how much lighter the closet feels when you are only putting back the things you actually use.
- Use garment racks or a spare bedroom to stage your clothes during installation. Most projects are completed in one day, so you will be putting things back the same evening.
- Clear a path from the front door to the closet for the installation crew. They will be carrying panels and hardware that are bulky but not heavy.
Step 6: Installation Day
Installation day is where everything comes together. The crew arrives in the morning with every component pre-built, pre-labeled, and ready to assemble. Here is what the day looks like:
Morning. The crew removes any existing wire shelving, patches wall holes if needed, and marks the layout on the walls. Then they begin mounting the system, starting with the corner units and working outward.
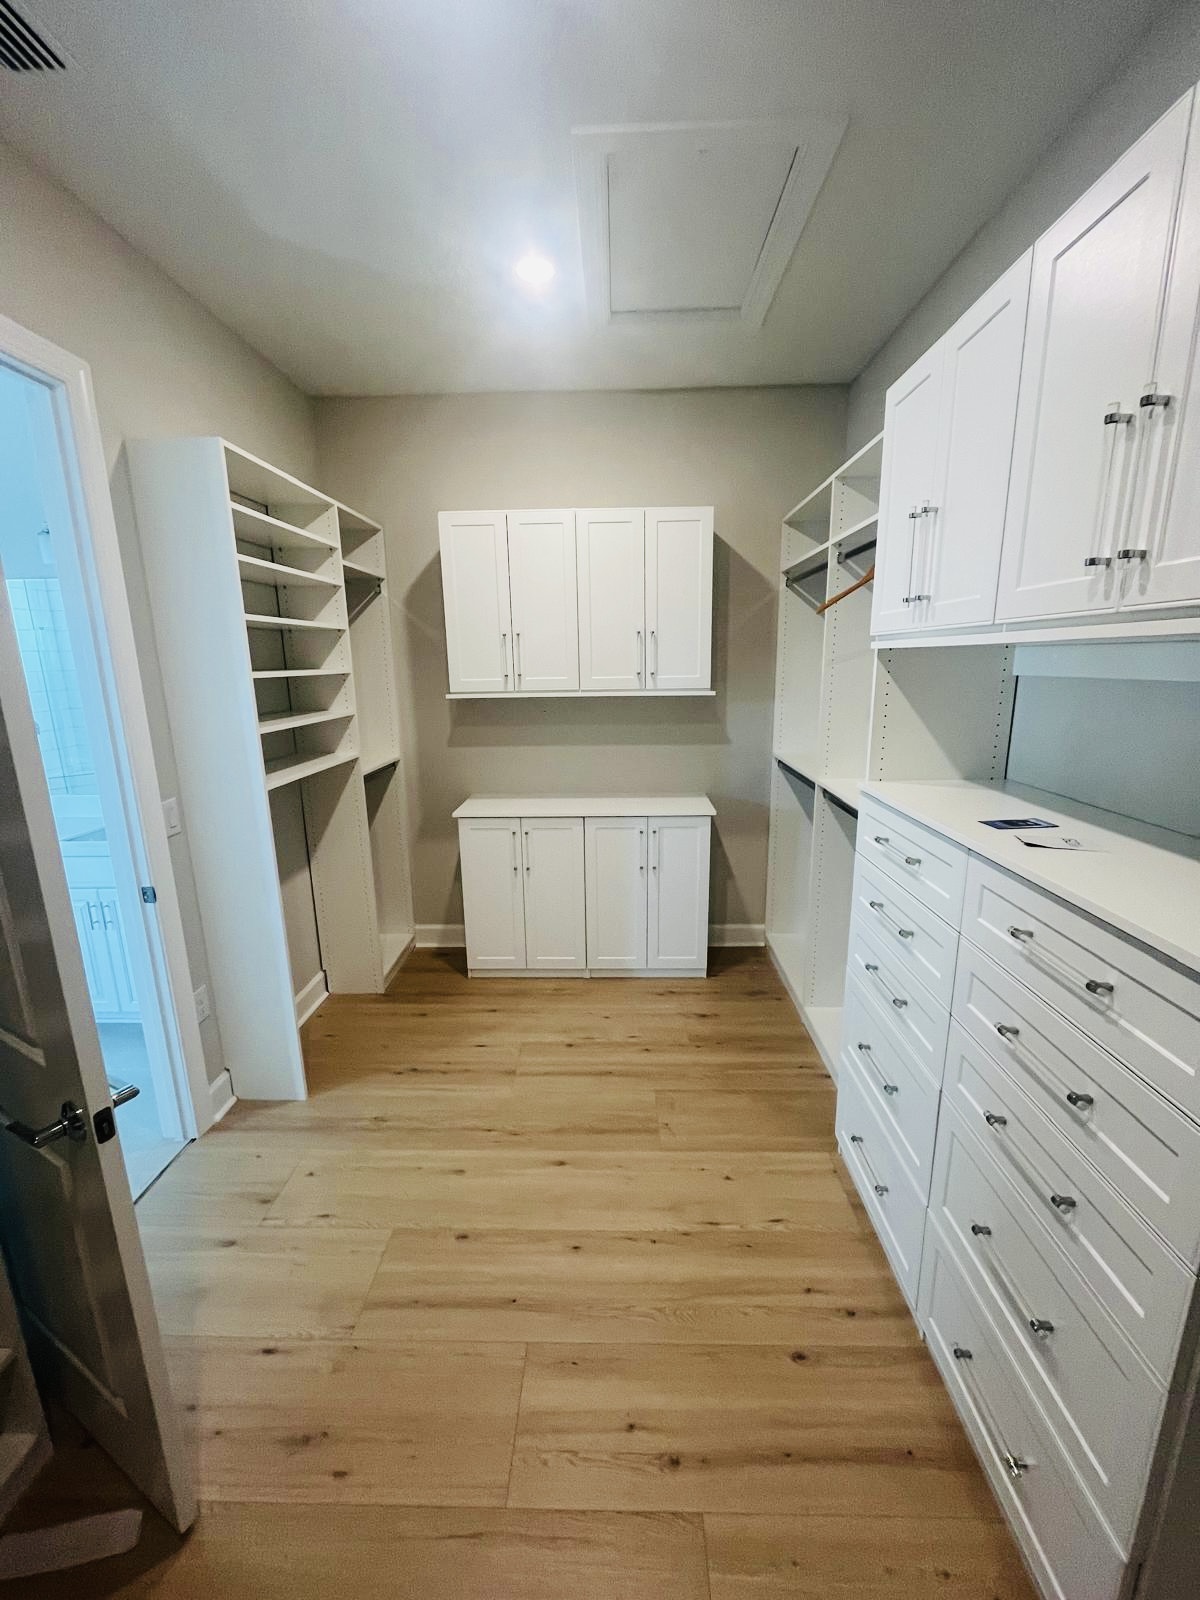
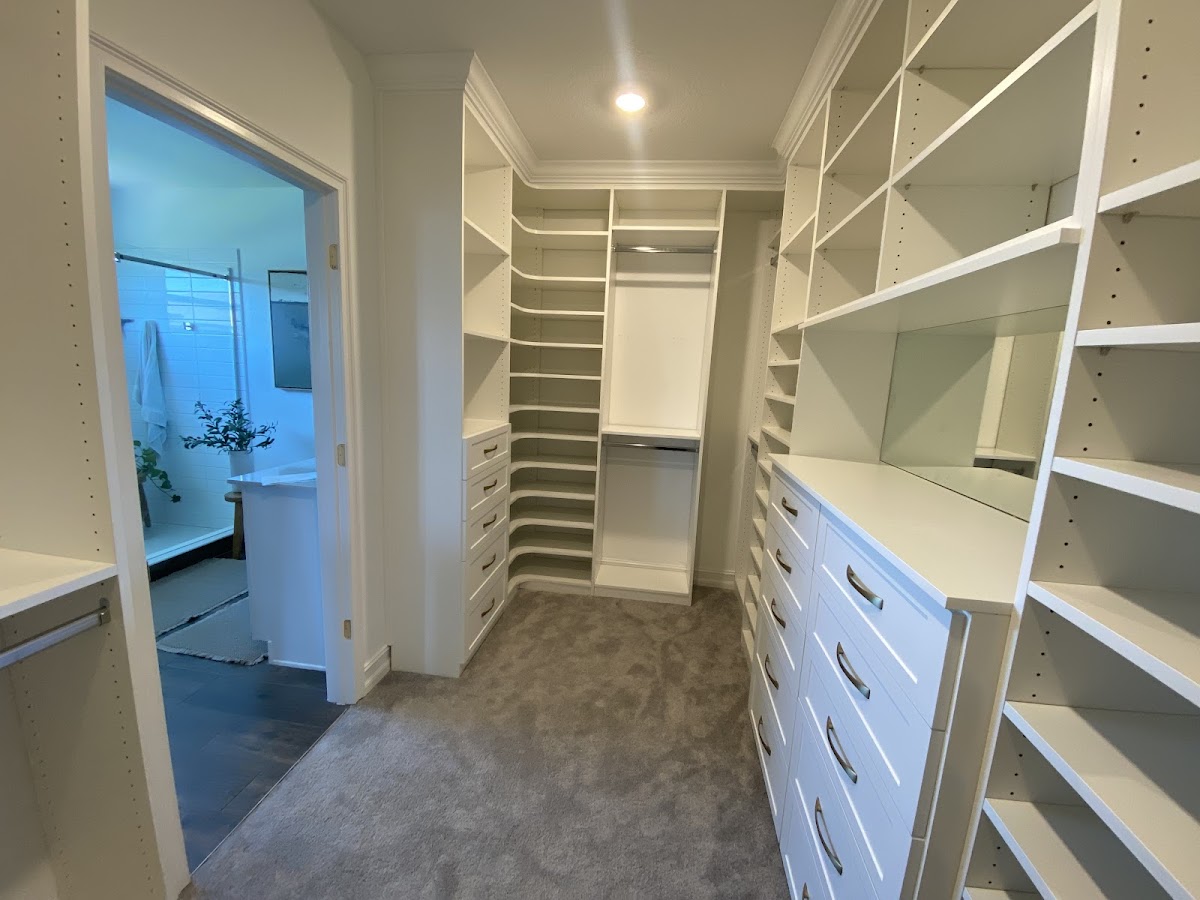
Midday. Panels, shelves, and rod sections go up. Drawer banks are installed. Hardware is mounted. The closet starts to take shape and it looks exactly like the 3D rendering you approved.
Afternoon. Final adjustments, touch-ups, and cleanup. The crew walks you through the finished system, shows you how adjustable shelves work, demonstrates the soft-close drawers, and answers any questions. Then they clean up and leave.
Total time. Most walk-in closet installations take 4 to 8 hours, depending on size and complexity. Reach-in closets are faster, typically 2 to 4 hours. Multi-space projects (master closet plus guest room plus pantry, for example) may take two days.
Disruption level. Low. The work is contained to the closet itself. There is no painting, no sawing, no drywall dust, and no heavy construction noise. You can be home during the installation without it affecting your routine.
Step 7: Organize and Enjoy
This is the best part. Once the crew leaves, you organize your closet. Hang your clothes in the double-hang sections, fold items into the drawers, line up shoes on the racks, and place accessories in their designated spots.
Most homeowners tell us this step takes about an hour, and it feels more like a reward than a chore. You are putting your belongings into a system that was designed specifically for them. Everything fits. Everything is visible. Everything has a place.
The most common reaction we hear at this stage is, "Why did I wait so long?"
How Long Does the Entire Process Take?
From first phone call to organized closet, the typical timeline is three to six weeks:
| Stage | Timeline |
|---|---|
| Consultation scheduling | 1-3 days |
| In-home consultation | 45-60 minutes |
| 3D design delivery | 3-5 business days |
| Design revisions | 1-7 days (your pace) |
| Manufacturing | 1-2 weeks |
| Installation | 1 day (most projects) |
The longest variable is the design revision period. Some homeowners approve on the first rendering. Others take a week to think it over, discuss with their partner, and request a few changes. Both approaches are normal, and we never rush this step.
Common Questions About the Process
Do I need to be home during installation? We recommend it, especially at the start and end so you can discuss any last-minute details with the crew and do the final walkthrough. But you do not need to supervise the entire day.
Can I add more spaces later? Absolutely. Many homeowners start with the master closet and add a pantry, guest room closet, or garage system within the next year. Each space gets its own consultation and design.
What if I change my mind after installation? The system is modular by design. Shelves are adjustable, rod heights can be moved, and additional components (drawers, inserts) can be added later without replacing the core system.
Ready to Start?
The first step is a free in-home design consultation. We will measure your space, learn how you use it, and show you exactly what is possible. If you are looking for the best custom closets in Lakewood Ranch or anywhere in the Bradenton and Sarasota area, Dream Closets is here to help.
Contact us today for a free estimate at (561) 502-4194 or schedule online at dreamclosets.com.
Proudly Serving Sarasota & The Gulf Coast
Dream Closets LLC brings professional organization to homeowners across Manatee and Sarasota counties.